
In today’s tutorial, we’re embarking on a journey to create a simple yet powerful blog using Next.js.
Whether you’re new to Next.js or you’re just looking to brush up on some fundamentals, this guide is tailored for you.
We’ll not only be dealing with how to set up a project but also touch upon folder structures, server-side rendering, and more.
You can find the full repository here
Let’s dive right in!
2. Setting up the Project
Step 1: Create the app
To begin, let’s use the following command to set up our Next.js app:
npx create-next-app@latest blog-example
Once done, navigate to the newly created project:
cd blog-example
Step 2: Start the development server
Though I’m using yarn in this guide, feel free to use npm or pnpm:
yarn dev
Now, visit http://localhost:3000 where you’ll find the default Next.js template page.
3. Understanding the Folder Structure
At this point, it’s beneficial to understand the structure of our Next.js app. Please refer to the following image for a visual representation of the folder layout.
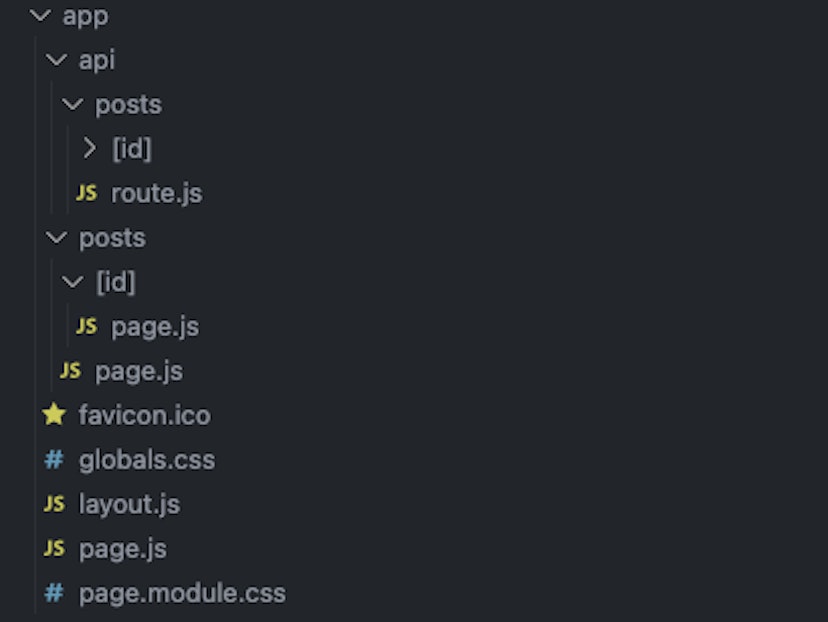
Folder structure
4. Listing All Blog Posts
4.1. API Route
Inside /app/api/posts/route.js, we’ll set up a dummy API for blog posts. Here, next: { revalidate: 60 } specifies that we’d like to revalidate our data every 60 seconds.
Revalidation is the process of purging the Data Cache and re-fetching the latest data. This is useful when your data changes and you want to ensure you show the latest information.
Cached data can be revalidated in two ways:
- Time-based revalidation: Automatically revalidate data after a certain amount of time has passed. This is useful for data that changes infrequently and freshness is not as critical.
- On-demand revalidation: Manually revalidate data based on an event (e.g. form submission). On-demand revalidation can use a tag-based or path-based approach to revalidate groups of data at once. This is useful when you want to ensure the latest data is shown as soon as possible (e.g. when content from your headless CMS is updated).
Time-based Revalidation
To revalidate data at a timed interval, you can use the
next.revalidateoption offetchto set the cache lifetime of a resource (in seconds).
Here’s an example:
import { NextResponse } from 'next/server'

export async function GET() {
  const res = await fetch('https://dummyjson.com/posts', {
    next: { revalidate: 60 },
  });
  const data = await res.json();

  return NextResponse.json(data);
}
4.2. Displaying the Posts
Let’s create a component, PostsPage, which fetches and displays posts from our server. Although I’ve styled it minimally, feel free to jazz it up!
export default async function PostsPage() {
  const res = await fetch('http://localhost:3000/api/posts');
  const { posts } = await res.json();

  return (
    // Styles are for readability; customize as you wish!
    <div>
      <h1>All Blog Posts</h1>
      <hr style={{ width: '220px' }} />
      <div style={{ paddingTop: '40px' }}>
        {posts.map(post => (
          <article key={post.id}>
            <h2>{post.title}</h2>
            <p style={{ paddingBottom: '30px'}}>{post.body}</p>
          </article>
        ))}
      </div>
    </div>
  );
}
So far, you should be seeing a list of articles.
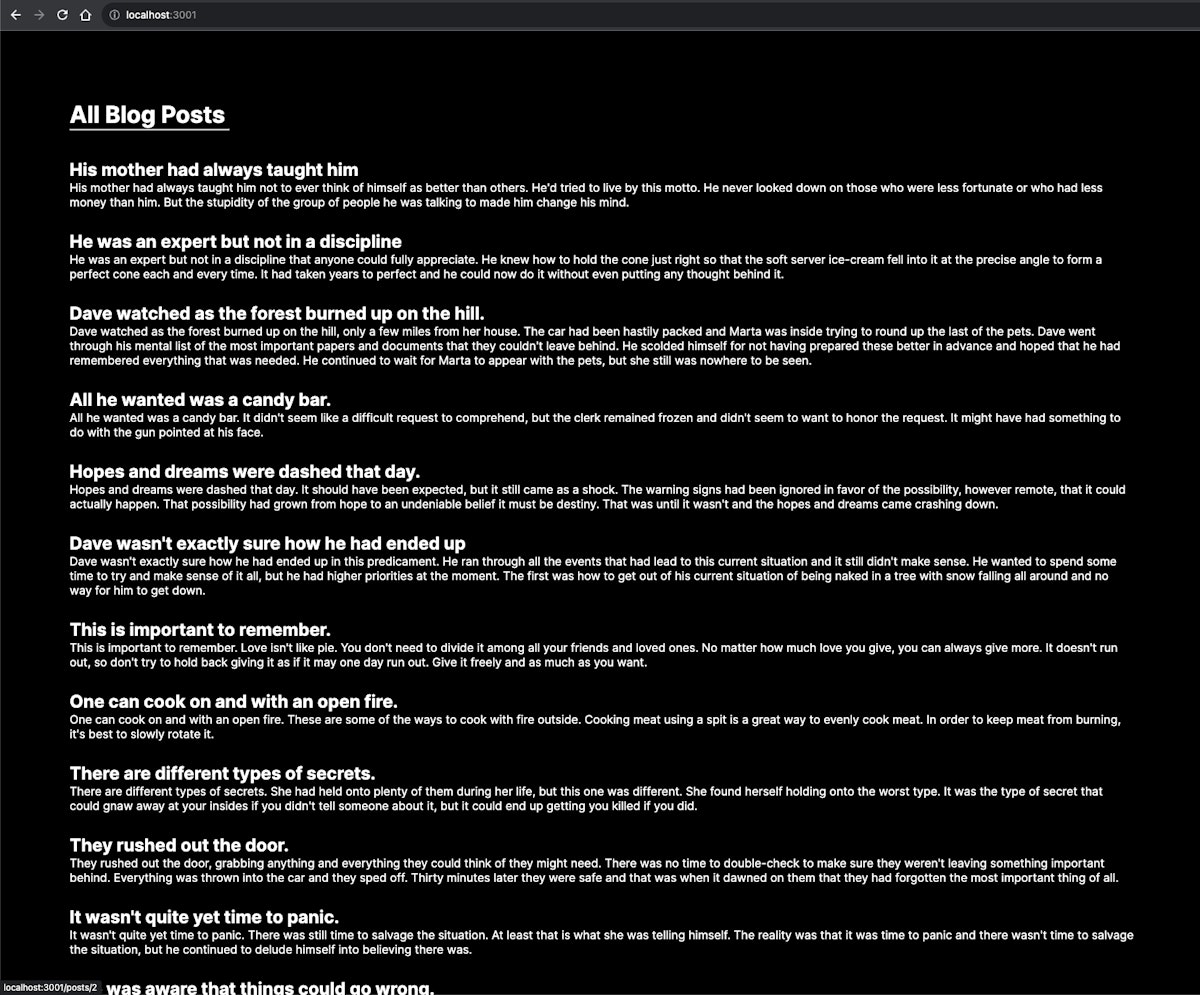
List of all articles
5. Showcasing a Single Blog Post
5.1. Linking the Post
To make each post title clickable, we’ll add the Link component from Next.js:
import Link from 'next/link';

export default async function PostsPage() {
  // ... rest of the code

  return (
    <div>
      // ... rest of the code
      <div style={{ paddingTop: '40px' }}>
        {posts.map(post => (
          <article key={post.id}>
            <Link href={`posts/${post.id}`}>
              <h2>{post.title}</h2>
            </Link>
            <p style={{ paddingBottom: '30px'}}>{post.body}</p>
          </article>
        ))}
      </div>
    </div>
  );
}
5.2. API Route for a Single Post
In the Next.js API route, we’re fetching specific posts based on their ID:
import { NextResponse } from 'next/server'

export async function GET(request, { params }) {
  const { id } = params;
  const res = await fetch(`https://dummyjson.com/posts/${id}`, { next: {revalidate: 60} });
  const post = await res.json();

  return NextResponse.json({ post });
}
5.3. Displaying a Single Post
For displaying individual posts, it’s vital to understand the difference between server and client components in Next.js.
The given component, SinglePost, uses client-side data fetching.
Essentially, this means that the data is fetched on the client after the page has been rendered. It allows for rich interactivity without sacrificing performance. More on this can be read in the Next.js documentation on React Essentials.
Client Components enable you to add client-side interactivity to your application. In Next.js, they are pre-rendered on the server and hydrated on the client. You can think of Client Components as how components in the Pages Router have always worked.
'use client'

import Link from 'next/link';
import { useEffect, useState } from 'react';

export default function SinglePost({params}) {
  const [post, setPost] = useState(null);

  const fetchPost = async (id) => {
    const res = await fetch(`http://localhost:3000/api/posts/${id}`);
    const {post} = await res.json();

    post && setPost(post);
  }

  useEffect(() => {
    fetchPost(params.id);
  }, [])

  return (
    <div style={{ paddingTop: '20px', paddingLeft: '20px' }}>
      <Link href='/'>Back to home</Link>
      <div style={{ paddingTop: '50px' }}>
        <article>
          <h1 style={{ paddingBottom: '10px' }}>{post?.title}</h1>
          {post?.tags.map((tag, index) => <span style={{ fontWeight: 'lighter' }} key={index}>{tag} | </span>)}
          <br/>
          <p style={{ paddingTop: '10px' }}>{post?.body}</p>
        </article>
      </div>
    </div>
  )
}
Now, you should be able to see the article details. Please, excuse the lack of styling!
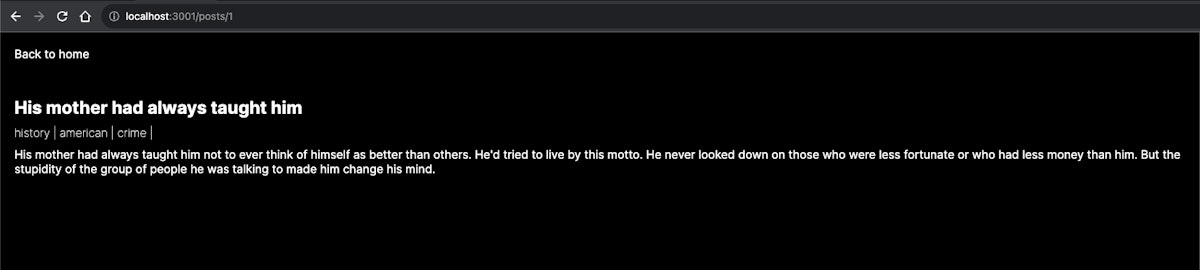
Single article
6. Utilizing Loading UI and Streaming in Next.js
Tip: For enhanced user experience, consider adding a loading component. Next.js provides an in-built solution with the Loading UI and Streaming. It aids in showing a loading spinner until your content is ready. Dive deeper with this official guide on Loading UI and Streaming.
For example:
// You can add any UI inside Loading, including a Skeleton.
export  default  function  Loading() { return <LoadingSkeleton />}
7. Conclusion
Building a Next.js application can be both fun and enlightening.
We’ve learned to set up a project, manage our folder structure, list blog posts, showcase individual posts, and even touch upon loading states.
With the rapid growth of Next.js in the web development community, the skills learned here are invaluable.
Expand upon this foundation, explore more features, and happy coding!
8. References
Official Next.js Documentation
For the article’s data, I used DummyJson
For building the article, I used StackEdit
This article was originally published by Leandro Nuñez on Hackernoon.